Directional Compass quilting block tutorial
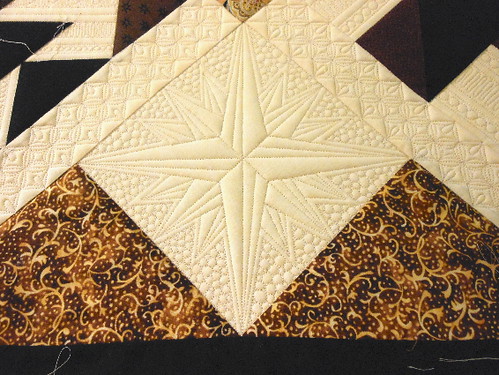
Okay - here is how I drew out my directional compass quilting block from my latest quilt. I hope this tutorial is helpful to you all and I hope you can try it out soon!

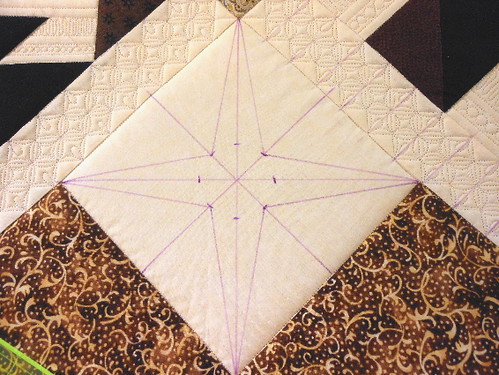
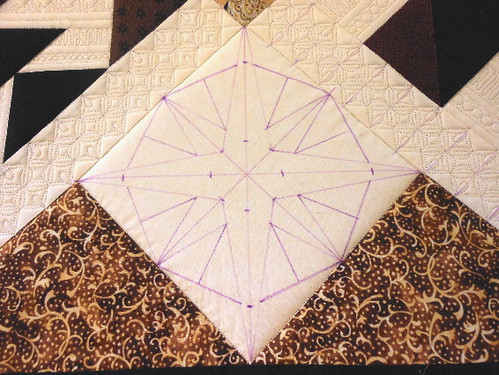
The block is a 7" square - so I will show you how to draw the guidelines according to that size. First draw a line from the top to bottom of the square, then from the left side to the right side. After you have drawn those lines - draw two more lines as shown in the picture. Use the center of the lines as a guide and draw 8 markings, 1 inch away from the center.
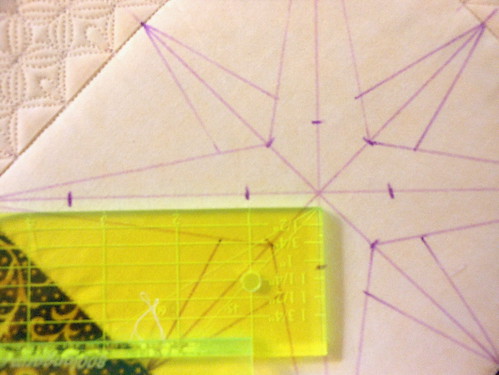
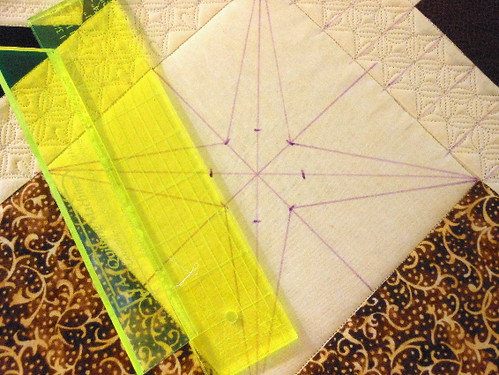
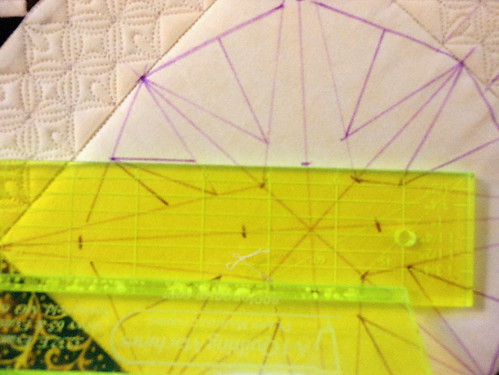
You need to mark 4 more guide markings. Take a ruler and measure 3 1/2 inches away from the center and make a mark on the four center perpendicular lines.
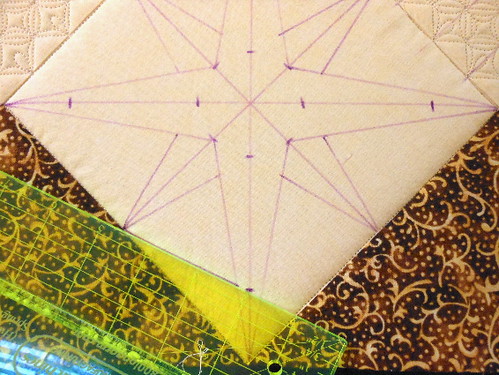
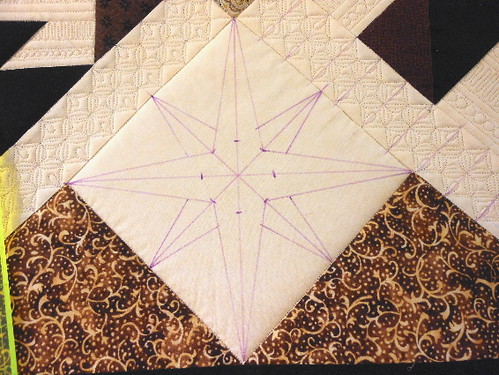
Now - make a line from the smaller triangle points to the markings you just made. These lines are just a guideline and will not be quilted. See the picture below.
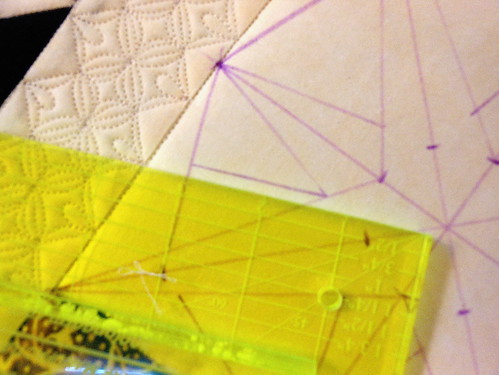
You will need to make a straight line in the center of the triangles you made from the previous step. Use your ruler to help make sure you have a straight, perpendicular line.
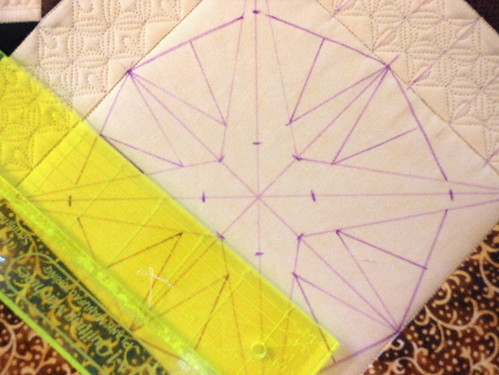
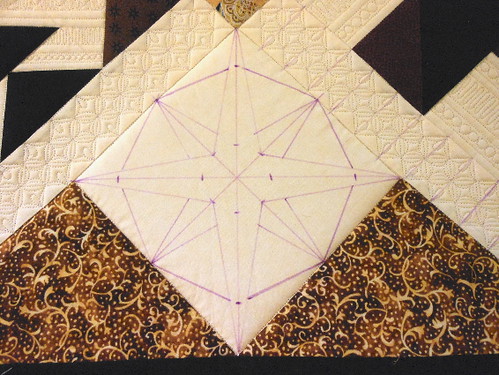
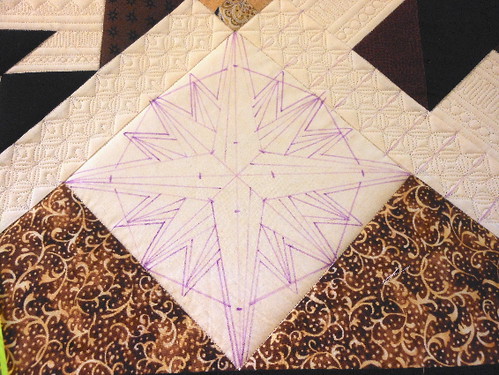
Use the first 8 markings as a guideline for the last lines to be drawn to make the shape of the directional compass.
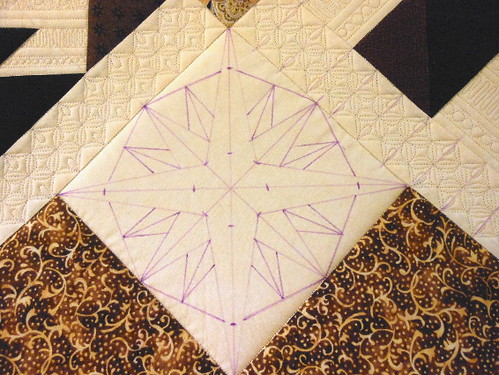
Now you have the basic shape of the compass and you are more than welcome to stop. All you more detailed quilters can continue on to the next steps.


