Flower Patch Revamp Final Reveal!

Ok, this is going to be a long post. I have not blogged in quite a while, but I feel like this project deserves the time and attention that only a blog can accomplish.
This quilt is 6 months in the making, not because I am that slow, but because life can be busy at times. While I love to quilt in heavy detail, I do other projects at the same time, like writing my book Serenity.
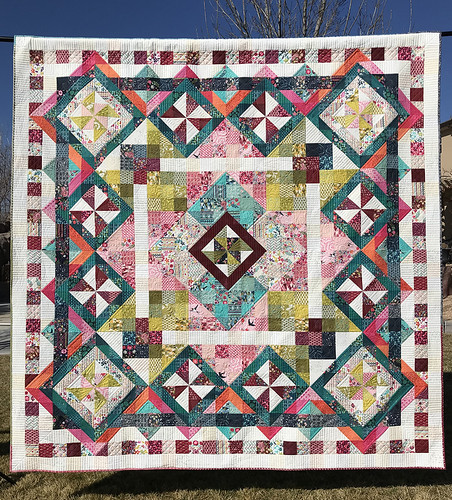
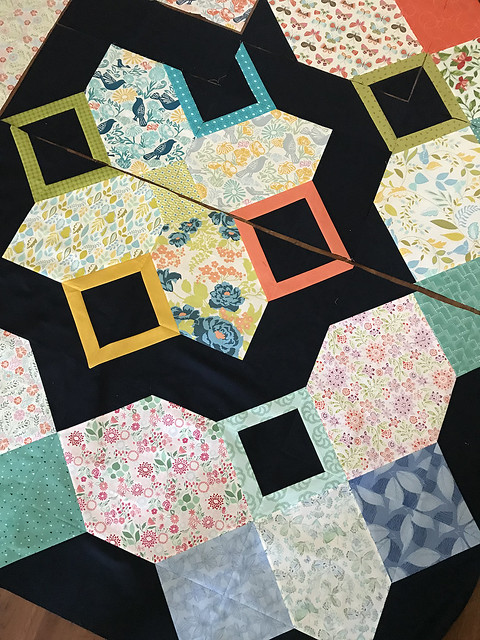
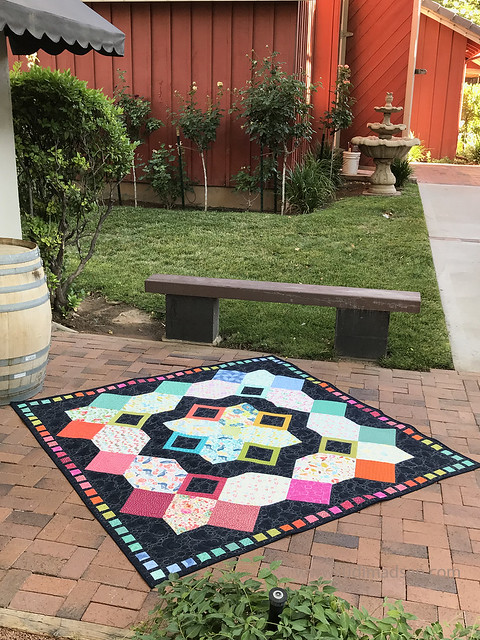
This project is based on my Flower Patch quilt pattern. I made a lot more blocks, and changed out the layout, which I will include at the end of this blog. You can get the original pattern here and that goes over the sizing and piecing instructions for the Flower Patch Block.

This quilt is for my bed. I have changed my bedding several times over the years, but this one had to be made because I recently purchased a king size bed. It also answers the question of whether or not I use the quilts I spend so much time on.
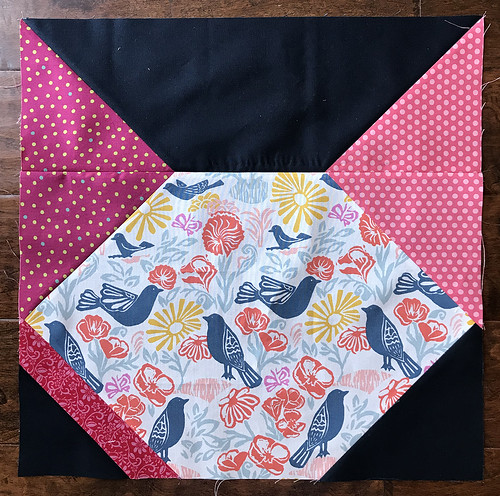
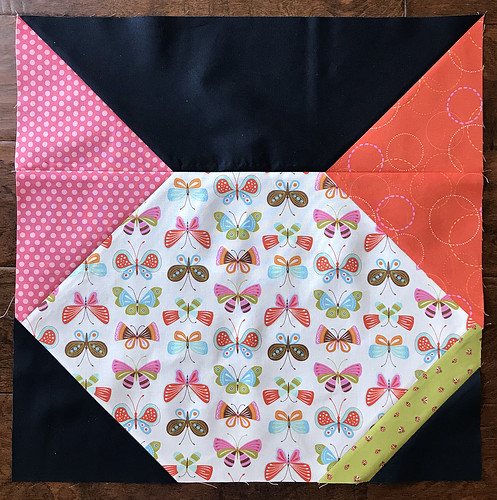
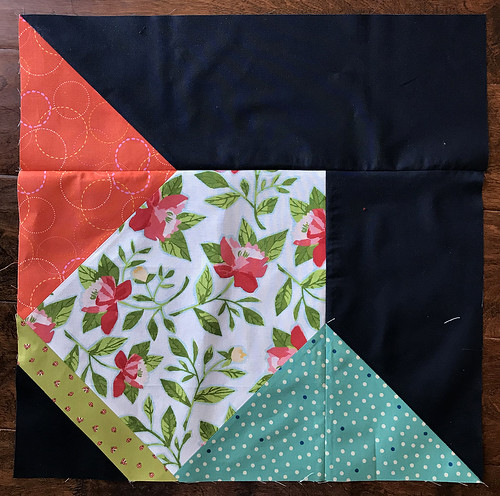
I fell in love with the fabric immediately when it came into our shop. The fabric is Chickadee by Create Joy Project for Moda Fabrics. I added some Moda Bella Solids for the sashings and pillows, I always love using solid fabrics when I quilt.

My son still gives me flowers, he's 12 and he left this paper flower for me as a surprise. It was the best surprise and one I had to share.

This is the pillow backing, isn't it gorgeous? It is a shame to cover, but at least I have the picture for memory.
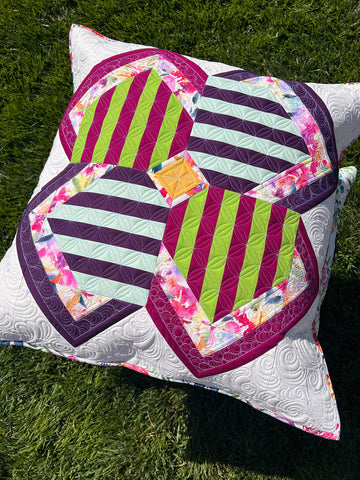
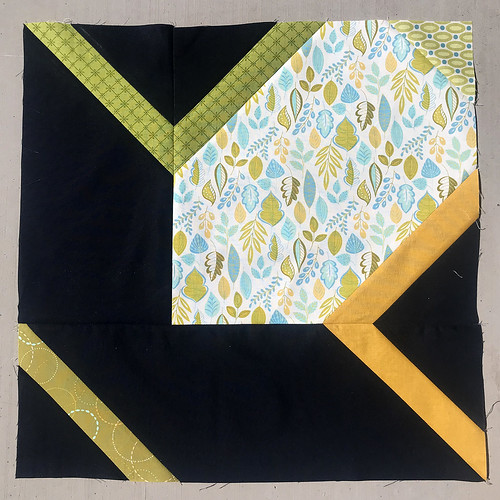
I had 4 pillows that needed to be covered, so I decided that an exaggerated Flower Patch block would work the best! I made two pieced blocks and quilted some fabrics to make the other two pillows.

It was really fun putting these pillows together and compliment the large quilt perfectly.

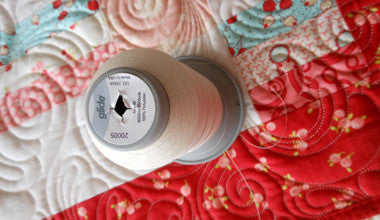
I love the 60wt Glide thread because it's the perfect weight for high density quilting. I use white thread throughout because I want to showcase the quilting designs in the solid fabrics. I share a video on how to quilt this border design, you can see that here. I used my QuickMarkRuler and my A1 longarm ruler to draw and quilt out these designs.

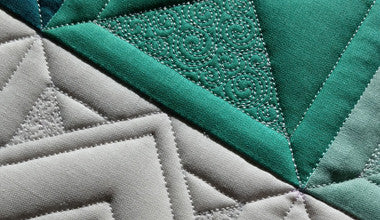
This magenta corner is fabulous; seriously, it turned out so perfect. This corner is different than the top corner (pictured below) because of how the design lays out, but I love having different design elements in a quilt. It definitely gives it more character.

The hardest part of the quilting process was seeing the marker on the darker fabric, but I like to use the purple disappearing marker for that. I have a large bright light that I use while I quilt and as long as that light is on, then the marker comes through perfectly on the darker fabrics.
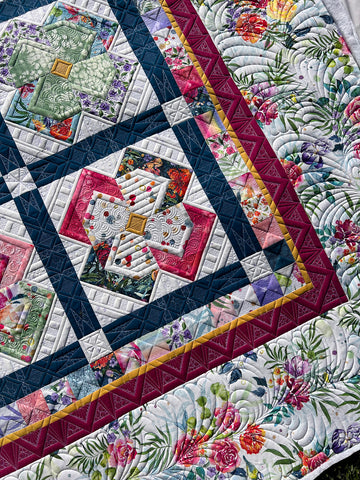
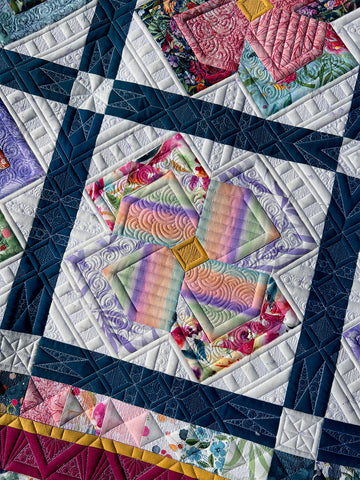
Here you can see the different corner design. Both are beautiful and give an awesome feel for the quilt.

Here is a shot of the sashing. I think my favorite part of designing the quilting is looking beyond the quilt blocks and incorporating the background of the pieced blocks to become part of the sashing. It just changes the whole look of the quilt.

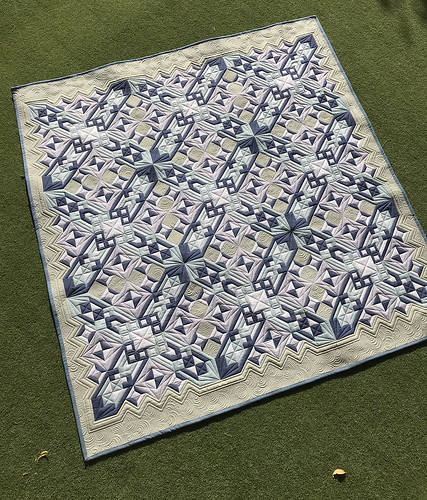
And, the back! Oh my word, it's so amazing. I could easily use this as the front of the quilt for a bit of a change.
These last two pictures show just how amazing the fabric and the quilting designs work in unison to make an incredible quilt. Sometimes it is all about placement. I must admit I am a bit nutty about fabric placement. Also, I am a bit nutty about line (stitch) placement because it does make a difference on a project.

So, grab the original Flower Patch pattern here, then come back for the different/new layout listed below.

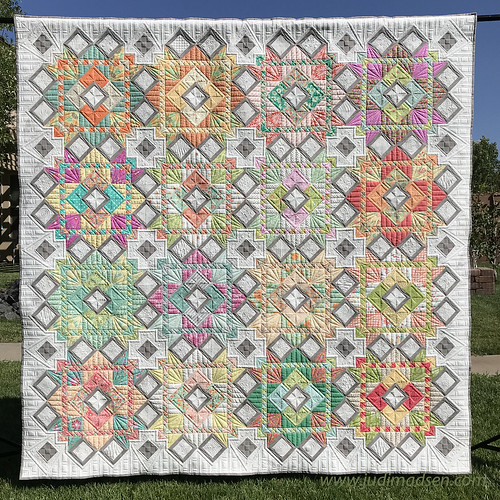
The above layout is the one I used for this new quilt. I have a 2 inch finished scrappy square border just beyond the sashing, then a 1/2 inch finished break border. After that a 2 inch border followed by the finished 9 1/2 inch border. For the large border I used a fabric with a large print and I love it, but if you don't want to make your quilt this large, you can eliminate the large border. The width of quilt that I made is 100" wide with all the borders.
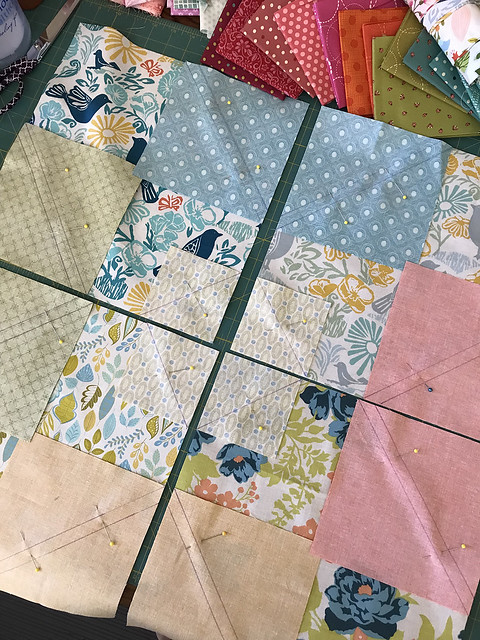
For the quilt make 30 blocks. Instructions for this block is available in my pattern Flower Patch. Get that pattern now. The revamped layout is 5 blocks across by 6 blocks down.
- 1/4 yard) Sash Squares - cut 3 strips 2 1/2” x WOF (width of fabric) strips, from these strips cut (42) 2 1/2 inch squares.
- 1 3/4 yards) Sash Strips - cut 5 strips 12 1/2” x WOF strips, from these strips cut (71) 12 1/2 x 2 1/2 inch rectangles.
- Squares border - cut (204) 2 1/2 inch squares from jelly rolls/scraps
- 1/3 yard) 1/2” Break border - cut (12) 1” x WOF strips
- 7/8 yard) 2“ Border - cut (12) 2 1/2” x WOF strips
- 3 1/2 yards) 9 1/2” Border (12) 10” x WOF strips
For the borders - sew three strips end to end for each side and the top and bottom. I used a 1/4" seam allowance for all seams in this quilt.
Have so much fun sewing this quilt top together!